In two steps, your shop is up and running!

Putting an event online is easily done in two steps you're done.

In step 1, you provide the information about your event and

in step 2 you create your ticket(s).

image

Step 1

You choose a regular ticketing event here, but you can also specify a reservation system for your beach beds, terrace, VIP with this.

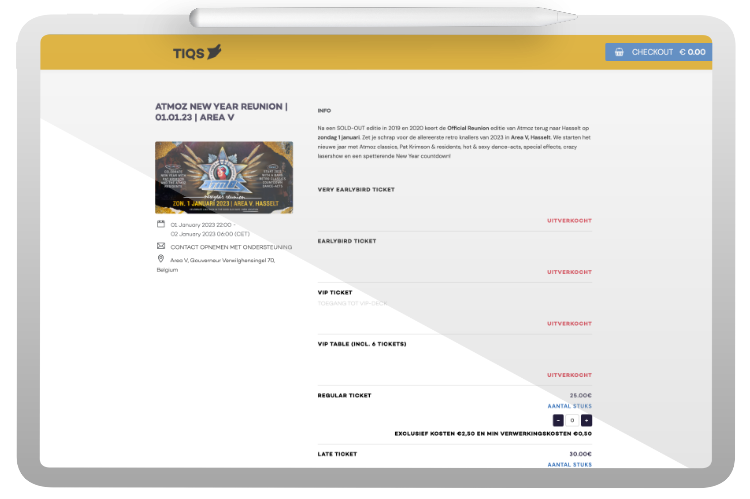
Specify a title of the event and optionally an age limit. This is useful if you have an 18+ event. Automatically there will be a check for this during check-out.

The event category allows us to label the event making it easy for all Tiqs users to find your event within the group indicated here.

If you want an event in a different currency you can also specify that here. For example, you can have an entire event paid for in Dollars.

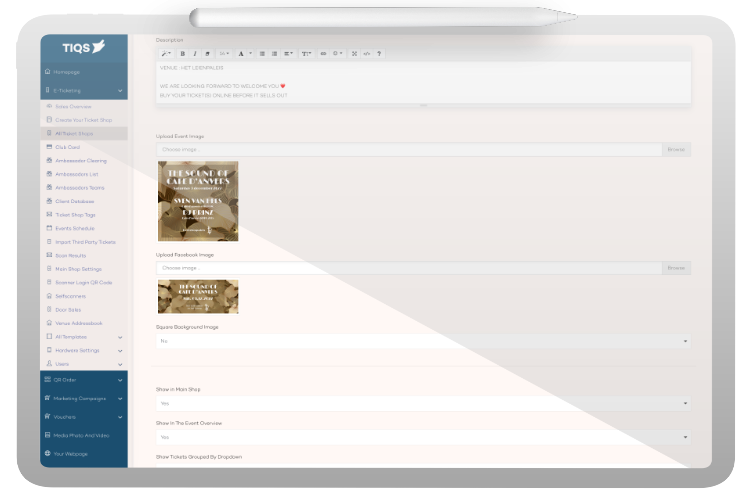
After this you can give the description of your event. In it you have a complete text processor at your disposal and it is also possible to use emjis.


image

Now is the time to load up your artwork that you use for your SHOP and for SOCIAL MEDIA. Your artwork will also be displayed on the ticket.

image

You can flexibly turn the following options on and off even if the event is already online.

If you use the ticketshop calendar, activate it here. You can indicate here that all events you have activated here will be shown in your ticketshop calendar. You can show a ticketshop individually or you can show a calendar of all your events.

With the Tiqs calendar you have an additional sales channel. Tiqs advertises on various radio stations and on social media channels such as facebook, instagram, tik tok and youtube.

Besides these options you can also select that sold out ticket types are reported first or last in your ticket shop. If you really want someone to only buy a certain number of tickets for an event on an email address then you can enable this for the entire event here.


image

In this, state that you would like to have an FAQ (Frequently Asked Questions) in your ticket shop, to further inform your ticket buyer.

The location where you give the event can be specified here and it will be saved for the next time you want to use it.

You also put the start and end of your event here.

When your event sale is no longer active, you can redirect any visitors to a website of your choice (URL).

If you want the shop to run in an iframe then you can specify here that you do not use the QUEUE-IT queue.

App ID indicates which apps can be used at your event.


image

STEP 2

Here you create the ticket types of your event. You can create as many ticket types as you want. You have several options, such as a secure (secret) code to make the sale available only to those you have made it available to.

Easily link ticket types. For example, you can also link an admission ticket to a parking ticket, or a bar token ticket.